Do-It-Yourself Mechanic
You Got This
Classic car enthusiasts find pleasure in their garage space, surrounded by tools. It’s the ultimate therapy from the rat race.
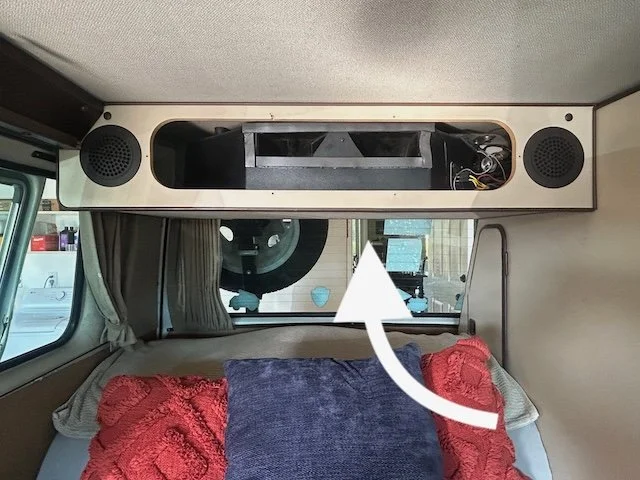
I struggled to find the courage to tear apart my broken car air conditioner because it looked scary.
I had read all the “horror stories” about attempting to repair the aging AC system in my 1986 VW Vanagon, and I got sucked into the drama. I saw all the photos on The Samba VW forum. Read all the posts on my Vanagon Facebook group site, and Googled everything I could about the inner-workings of the system.
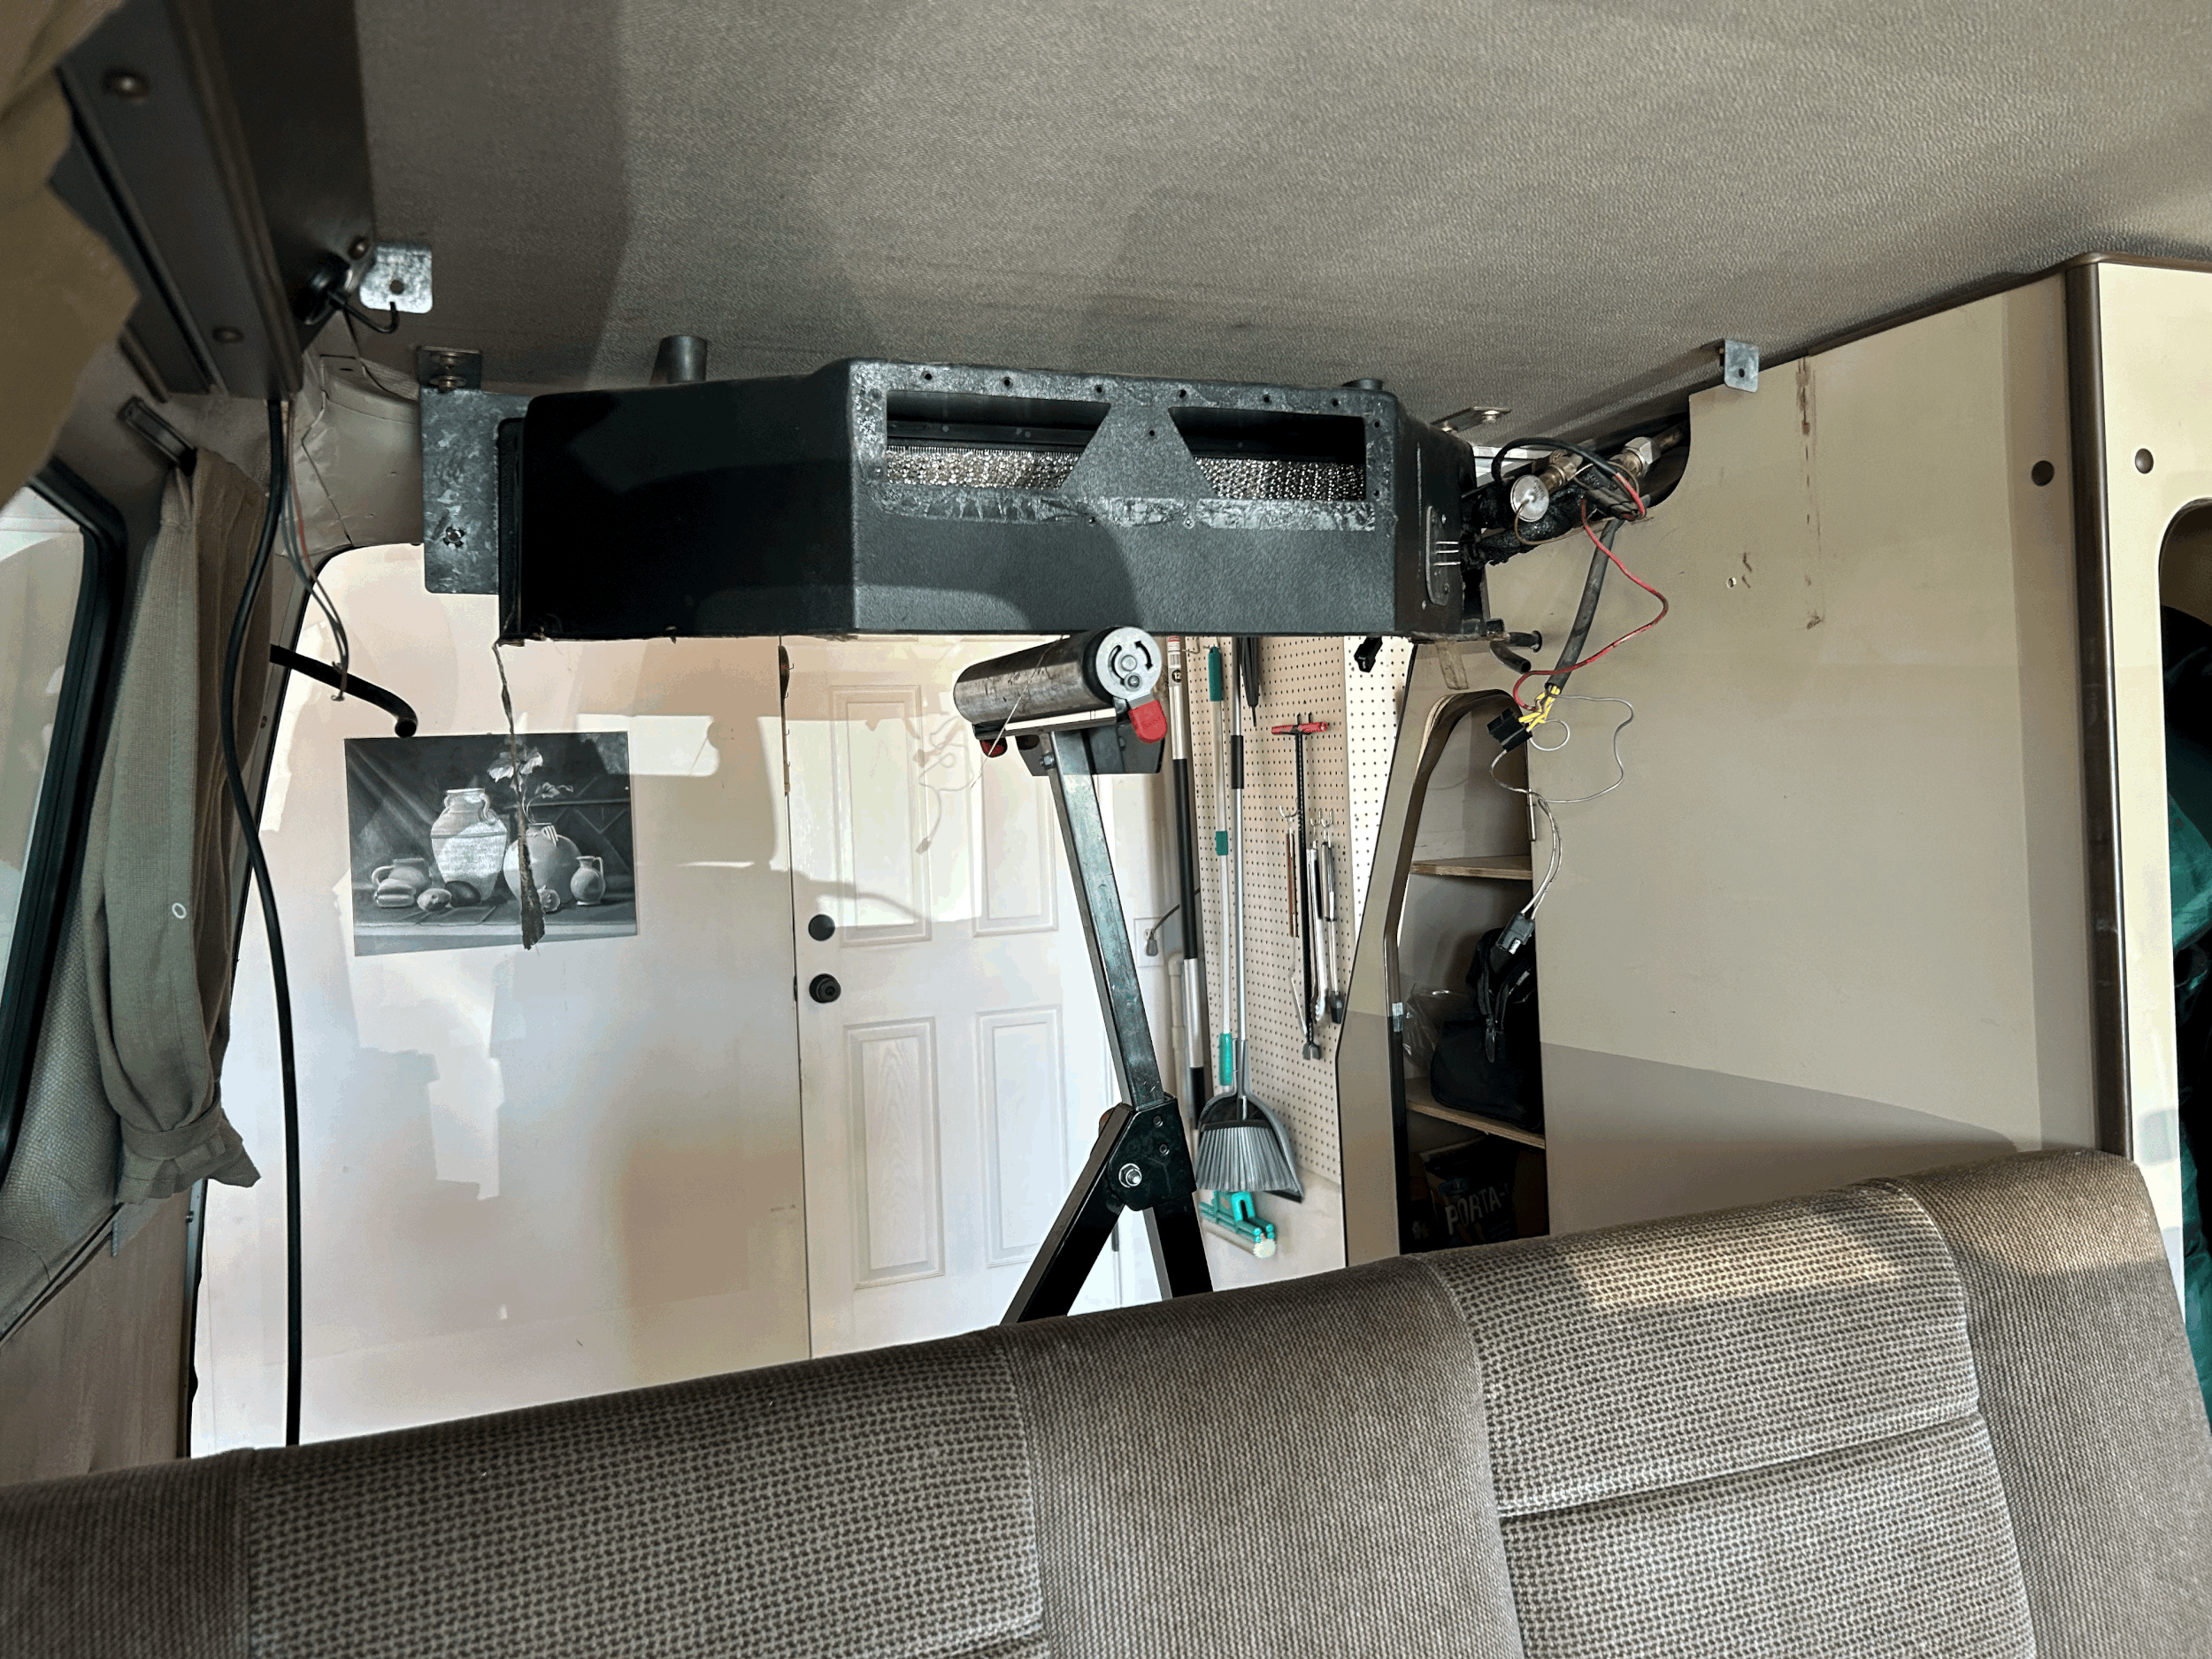
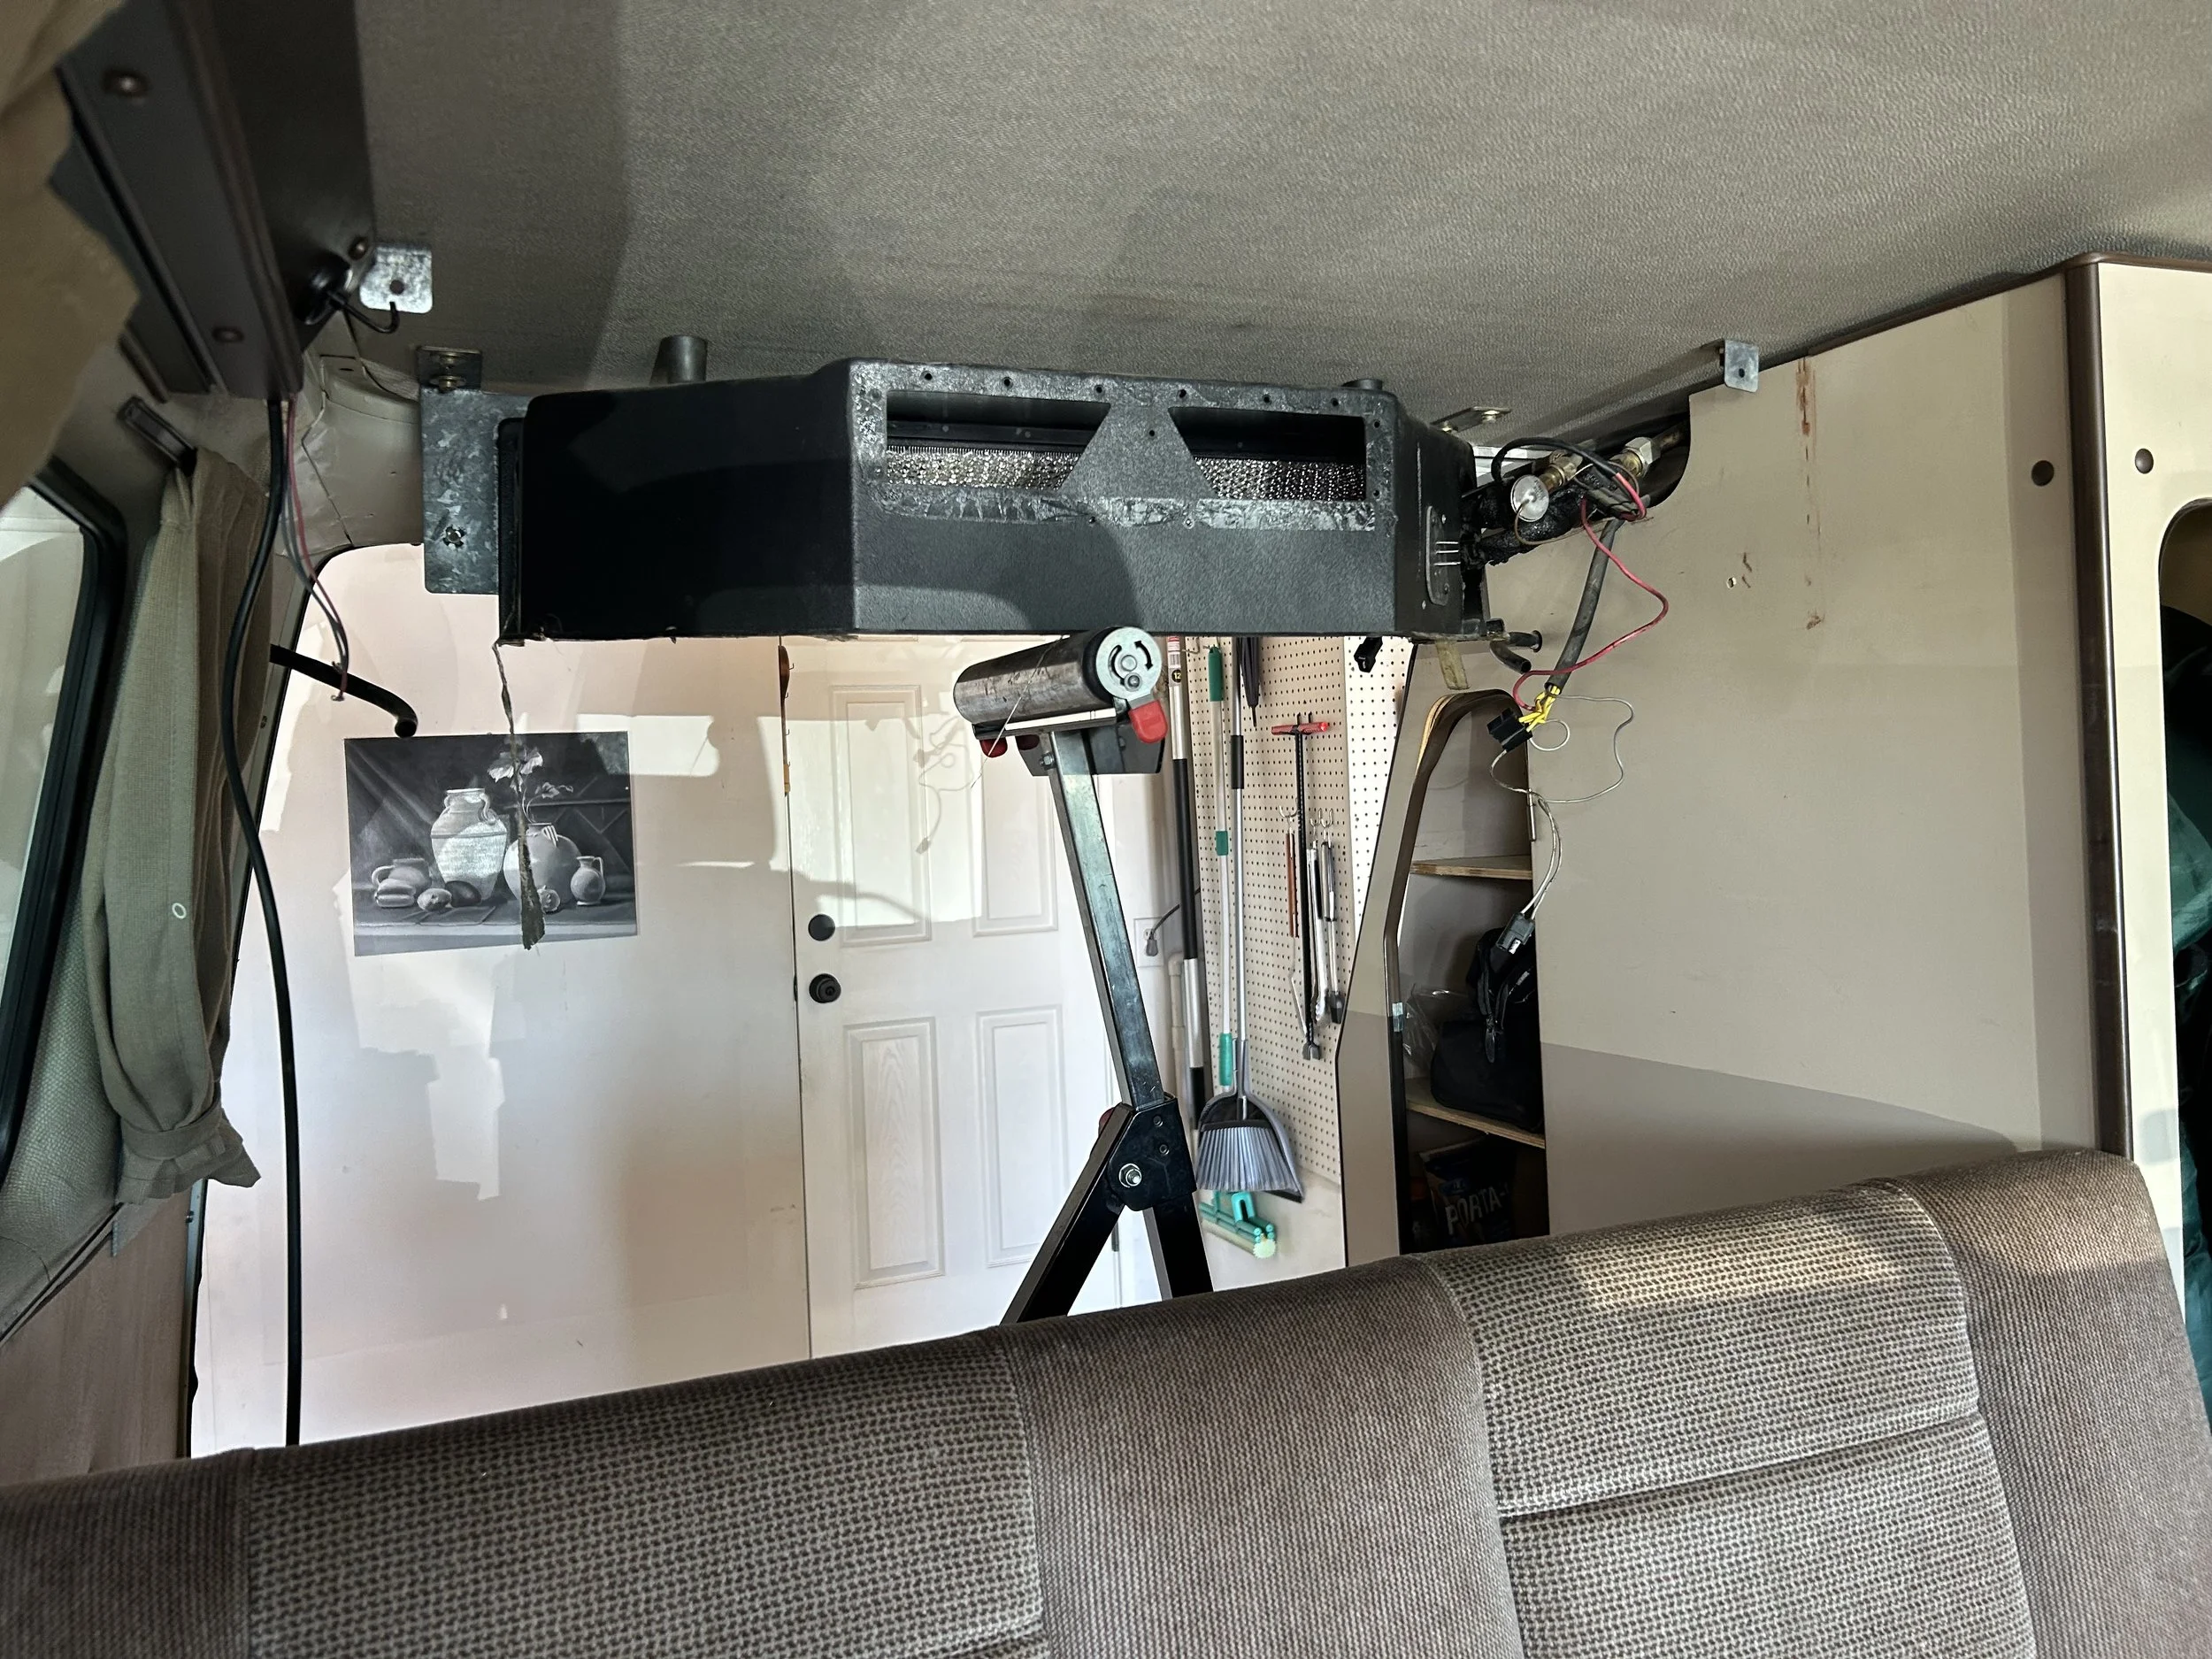
My problem was a bad fan assembly. That didn’t seem too daunting of a job. But the fan was tucked inside a giant wooden box, mounted to the interior roof of the van. And, then there were stories about leaking rubber fluid lines that I had to watch out for… the fun never ended. Yikes. No wonder people don’t want to do-things-themselves.
With summer closing in fast, I wanted air-conditioning in my Vanagon. That was my motivation. I have friends that tear down and rebuild engines in their garage. Why couldn’t I dig into the AC system without the fear of doing something stupid. A lack of confidence? I had no prior experience with the Vanagon AC system, and didn’t know how to start the project.
The Memorial Day weekend was upon me and I figured this would be the time to get started. I wasn’t going to pay someone for something I could do myself. At least not before giving it a try.
I drew up a plan. I studied the VW Bentley shop manual from page to page until I understood what I was about to do.
Would I have to evacuate the freon at a shop? Would every nut and fitting come off without much effort, or would I be fighting every twist of the wrench on this nearly 40 years old vehicle? Those were real concerns.
Take things slow and steady, I told myself. If you run into problems walk away and come back fresh. Don’t give in to self-doubt. Believe you can do it, I repeated. The worst that would happen is you can’t do it, and you take it to a repair professional. I was committed. That’s what you have to be… 100%.
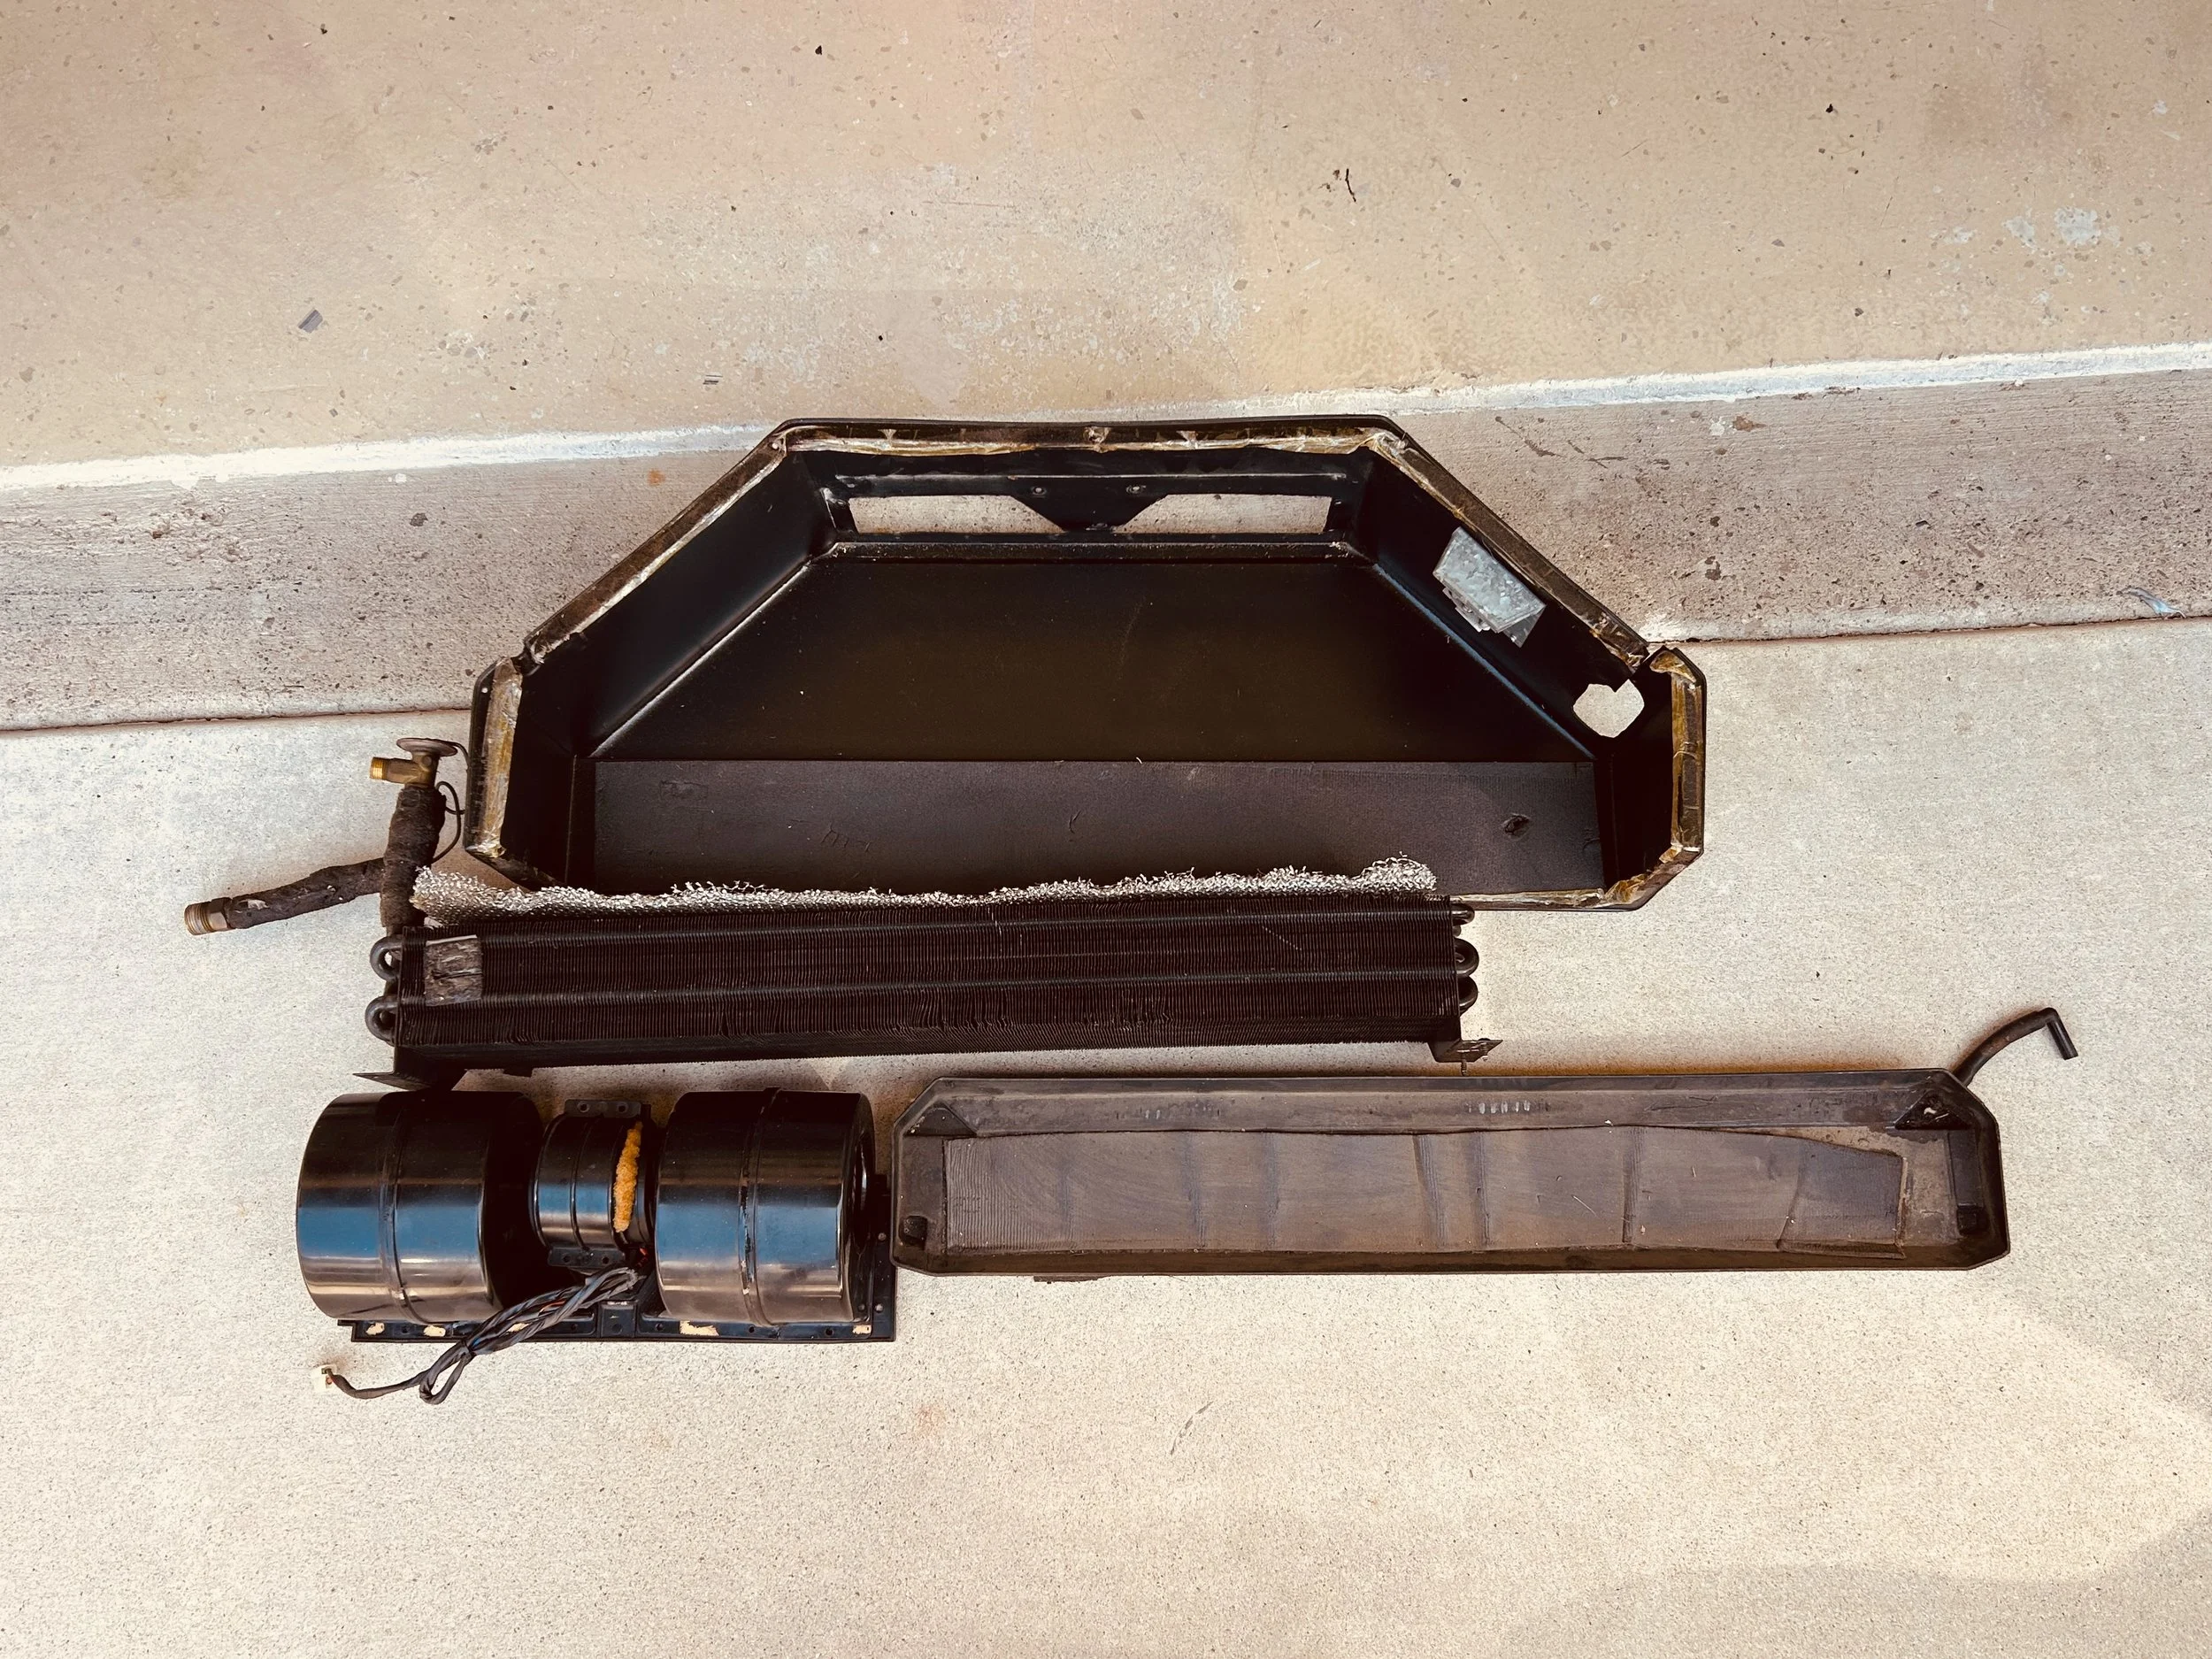
Those horror stories I had read were creeping into my mind as I removed the first of the large bolts that held the Vanagon AC system securely to the interior rear roof of the vehicle. It was heavy and very awkward. I found something that could balance it as I removed the hardware. It was easier than I thought to get to the fan assembly, which was inside the black shroud.
A friend happened to have a spare AC fan assembly, evaporator and shroud, and I snapped it up.
The plastic fan housing he sold me had a few cracks that needed to be epoxied, but that’s about it. I mixed up the epoxy and went to work repairing it and let it cure for 24 hours. These parts are difficult to find. I had one chance of getting it right.
The old fan assembly had suddenly stopped working more than a year ago. This DIY project was long overdue.
With the replacement fan assembly now in working order, I got back to wedging the old assembly out and the newly repaired assembly into the shroud.
Patience was key here. Even though I had never seen the inside of the AC system I had to assume what wire or connection did what and what bolt went where. With relative certainty of course. I took photos with my iPhone each step of the way. It would go back together that same way it was removed.
By the next day I was ready to reinstall the cabinet around the black plastic shroud. It took about two hours to tighten every last screw into the appropriate speed nut, but I had completed a huge step. Nothing broke, and everything fit. I did have an extra washer. Oh well. I switched on the AC and it worked like new again. Whew.
My wife checked on me occasionally and she was very helpful in maneuvering the large wooden box that surrounds the system into place. That’s what it took… a plan, patience, determination and a person who supports your efforts. What’s next on the agenda? Maybe a new carpet kit.